No Knead Bread
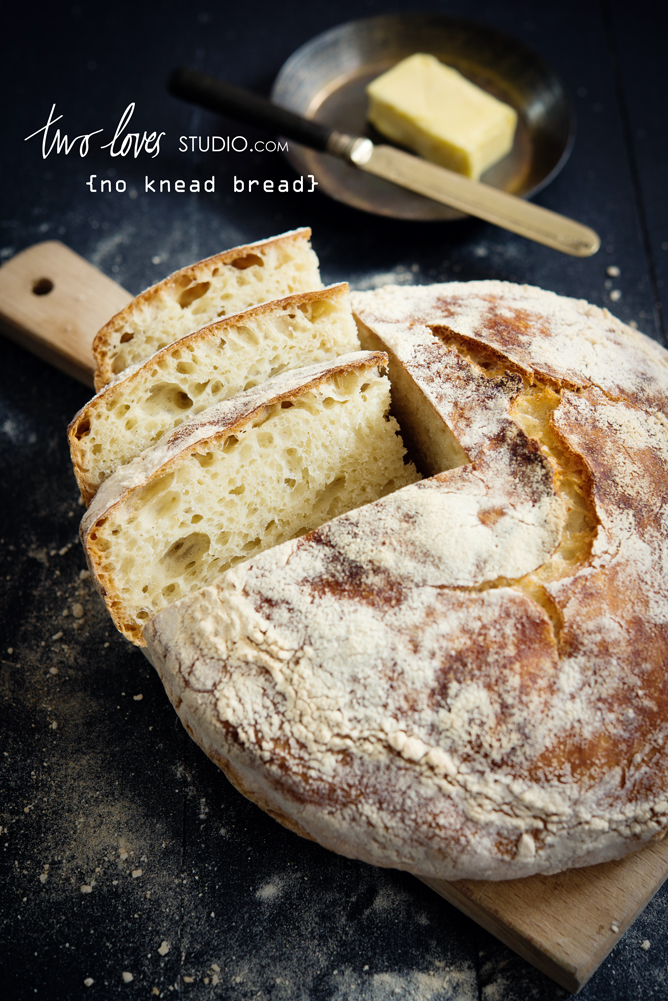
 I am sitting here trying to start this post and all I can say is damn this looks good. I had such a hard time picking which photos to include in this post. The first one was not my absolute favourite, but when I showed Matt, he gasped and exclaimed – ‘that is the money shot’. So there it is an opener to this post. I don’t normally go on about my photos, but this post has been in the pipeline for some time and if you saw the photos from the last time I tried to do this shoot, well lets say you would definitely pat me on the back.
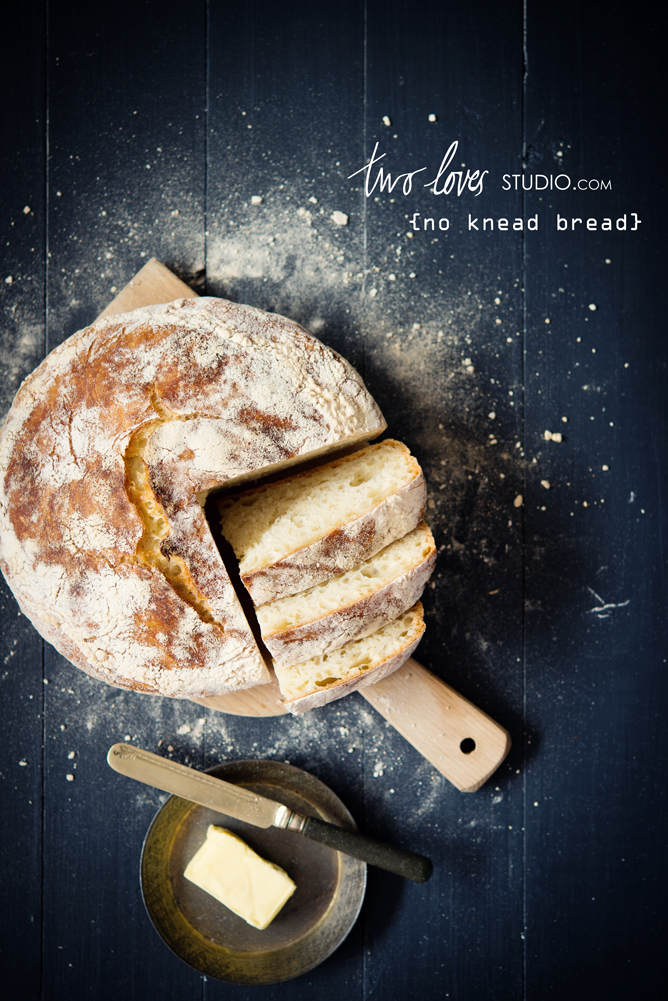
What I love about this bread is you don’t know what you are going to get. Its like having a baby. You know whats coming out – a little tiny human, but you don’t exactly know what it will look like, its traits and features are a mystery until it is born. No Knead Bread is kinda like that. Each time we, (when I say we, I mean Matt. I’ll admit he is better at baking than I am), bake it – it comes out looking different. Sometimes it is lop sided, with different cracks, but with one was destined for the stage. It was perfectly rounded, not lop sided with a very unique crack along the top and now I am getting a little obessed with it aren’t I!?

 So here it is in all its glory. The loaf didn’t really need anything by its side to look good – it is so powerful on its own. All I did was set up my background and drop it onto the board sending the flour into a splatter pattern on the board!
All you need to make this bread is the ingredients, a cast iron pot and some time on your side. We seem to be making two loafs a week and because it is no knead and rises on its own, you do need some time to plan its rise and bake.
No Knead Bread
Ingredients
3 cups bread flour
1 1/4 teaspoons salt
1/4 teaspoon yeast
1 1/3 cups cool water
additional flour for dusting
Cast iron pot with lid and a timer
Directions
In a medium bowl, stir the flour, salt and yeast. Add the water and mix until the mixture resembles a wet, sticky dough (about 30 seconds). If it isn’t wet and sticky, add a tablespoon of water.
Cover the bowl and let it sit at room temperature for 12-18 hours. This will be the first rise.
After 12-18 hours, dust your work surface generously with flour. Scrape the dough onto the work surface in one piece using a spatula. The dough should be loose and sticky. It doesn’t need more flour so don’t add any more.
With lightly floured hands, lift the edges of the dough towards the centre of the work surface and tuck the edges to make the dough round. Place a tea towel (made from linen or cotton) flat and generously dust it with flour. Place the dough onto the towel seam down (tucked edges) and lightly dust the top. Fold the towel loosely over the dough and place it in a warm, draft-free location for 2 hours. This is the second rise.
Half an hour before the end of the second rise, preheat the oven with a cast iron pot in the centre of the oven with a lid on to 250 C (480 F). Let the oven and pot heat for half an hour and the second rise will be complete. Take the pot from the oven and remove lid.
Uncover the dough and quickly, gently and safely invert the dough into the pot. The seam side is now up (tucked edges). Cover the pot, return it to the oven and bake for half an hour.
After half an hour, remove the pot lid and continue to bake with the lid off. Bake for 15-30 minutes until the bread has reached a desired colour. Check the bread every 5 minutes as it can brown quite quickly.
Once the bread has reached a desired colour, remove the pot from the oven and use a heatproof spatula to lift the bread out of the pot and let it cool for at least 1 hour.


I love making bread! Your pictures are gorgeous. 🙂
Its so rewarding isn’t it! Do you have a favourite type of bread? And thanks for the kind words.
Love the pictures and my mouth is watering as I look at them and read your post..
Its pretty good I must say. The simplicity allows you to just focus on the bread and its features!
Oh-em-gee! Those photos are spot! I have to say, I’m inclined to agree with Matt but you seriously nailed them all by keeping it minimal and relying on the interesting textures of the bread. Brilliant.
Yep – the bread is a star on its own. I just love the crack, it’s so interesting. That shot is not my usual angle either. Thanks for the kind words lovely lady. I made another tonight with rye flour and it wasn’t nearly as cool as this loaf. Meant to be 🙂
Lookin’ good, Rachel! The only bread I’ve ever made is no-knead, because really, who wants to work out their forearms?
Haha that is a great comment. Do you have a favourite recipe? I’d love to take a peak. Do you make white bread, wholemeal, rye….?
This is the only recipe I have ever used, works like a charm, and I sometimes sub olives for sun dried tomatoes (or you can leave them out all together). I snagged it from Macheesmo: http://dellacucinapovera.com/2012/12/16/no-knead-olive-bread/
Perfect! Matt and I have been saying we wanted to try an olive bread. Totally making this 🙂
Yumm!!! This bread looks sooooo good!!! Beautiful pictures 🙂
Your bread looks incredible! Love your stunning photos too,
Thanks Rosie! We always eat the whole loaf in about a day – so yummy.
Looks beautiful! I’ve made this recipe repeatedly for the past few months and it’s so darn delicious I end up making another batch before the first is gone so I will never be without.
Love it Annie! We always eat ours so quickly and we aren’t as organised as you so we do go without! Do you try it with different flours?
I just took this bread out of my oven. Looks fantastic and was so easy!
So glad to hear it worked out Amanda! There are a lot of directions to follow. How did it taste? Well worth the effort ill bet!
It was so good we have not gone back to any other kind! It has been a big family favorite
Hooray! Matt is just about to bake another loaf. I will have to tell him how much you love it! Thanks for letting me know, made my day.
Your photos are fantastic. Bookmarking now!
Thanks! Ill see you round here then 😉
Love, love, love everything about your blog!!!!! Would you be willing to share the color of the background board you use with the bread shots? I love how rich it looks.
Thanks Vanessa. It’s such a great colour isn’t it! I did a post on the backgrounds I made a few weeks back, including the colour and brand of paint I used. Check it out http://twolovesstudio.com/2013/04/02/diy-food-photography-backgrounds-with-two-no-fuss-painting-techniques/
Many thanks 🙂
Can u please show the cast iron pot 😉
Absolutely! Such a great idea. My Matt took a great photo of the bread in the cast iron pot and blogged about it. Check out the pot here: http://korinekphotography.wordpress.com/2013/04/12/bread-baking-photographer/
Pingback: Red Bean Bread | Food Is My Life
Pingback: a day in our lives part 1 » Wedding Photographer | Claudia Rose Carter | UK & Worldwide
Hi Rachel. Believe it or not but I don’t have a cast iron pot. Can I make this recipe by just baking the bread in the oven on a tray, without using the cast iron pot? Thanks. Kim
Hi Kim – to bake this bread correctly, an oven within an oven is needed for the baking process. Baking it on a tray won’t really work. Another pot that is oven safe might work. Do you have anything similar that might work?
Hi again. I actually dont have any pots that could go into the oven. I only have glass casserole dishes? Do you think that would work?
Thanks for that Kim, I am not sure how glass would work as I have never used it. I have read a few other posts people have done on no knead bread and it would seem that you can use anything that can take the heat and forms a tight seal to create a steam oven within the oven. The glass dishes would need to form a tight seal. You could always give it a try but be prepared for it to not work out. Let me know what you decide and how you go!
I actually also have normal stainless steel pots that get used in the oven so maybe they would work better? Probably better to give those a try…
My feeling is that stainless steel would work better, as long as the lid is tight and heavy enough to keep the steam in. Always worth a try!