Red Wine Sea Salt – a little treat for Christmas
 It is officially the holiday season! Our Christmas tree is up, our first Christmas party is tomorrow night, our Christmas cookie baking day is next weekend, and it’s nearly time to take this years Christmas card photo. I am really excited about Christmas this year as I am receiving the best gift of all, spending time with my flesh and blood. My parents and sister are coming down to Melbourne for an extended visit. It’s the simple things about Christmas that mean the most, family, love, Christmas lights, laughter and good food.
We can all sympathise that this time of year is so busy, and any time that I do have has been spent working on two e-book projects that I have on the go at the moment. (There is a lot more work involved in putting one together than I expected! Maybe that is because I am a perfectionist, or just need to face the fact that I am not a graphic designer and get someone to do that bit for me.) So it may seem like it’s a little quiet over here at the moment – so today I thought I would share some little Christmas gifts I am making.
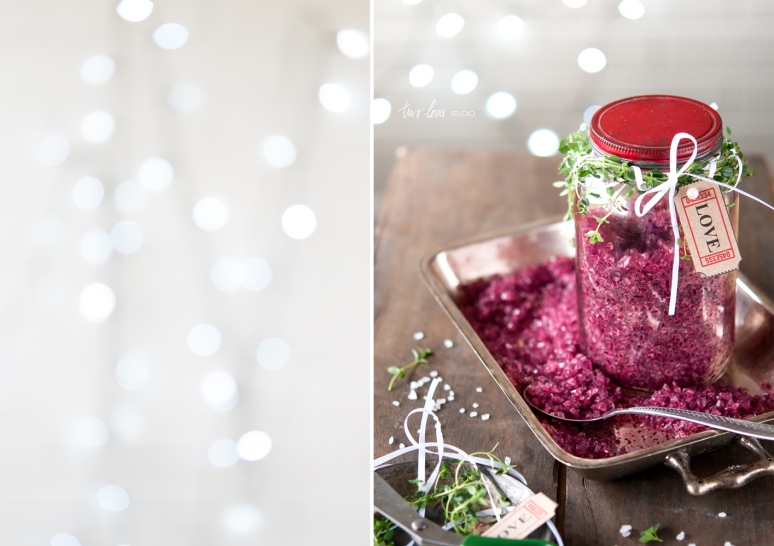
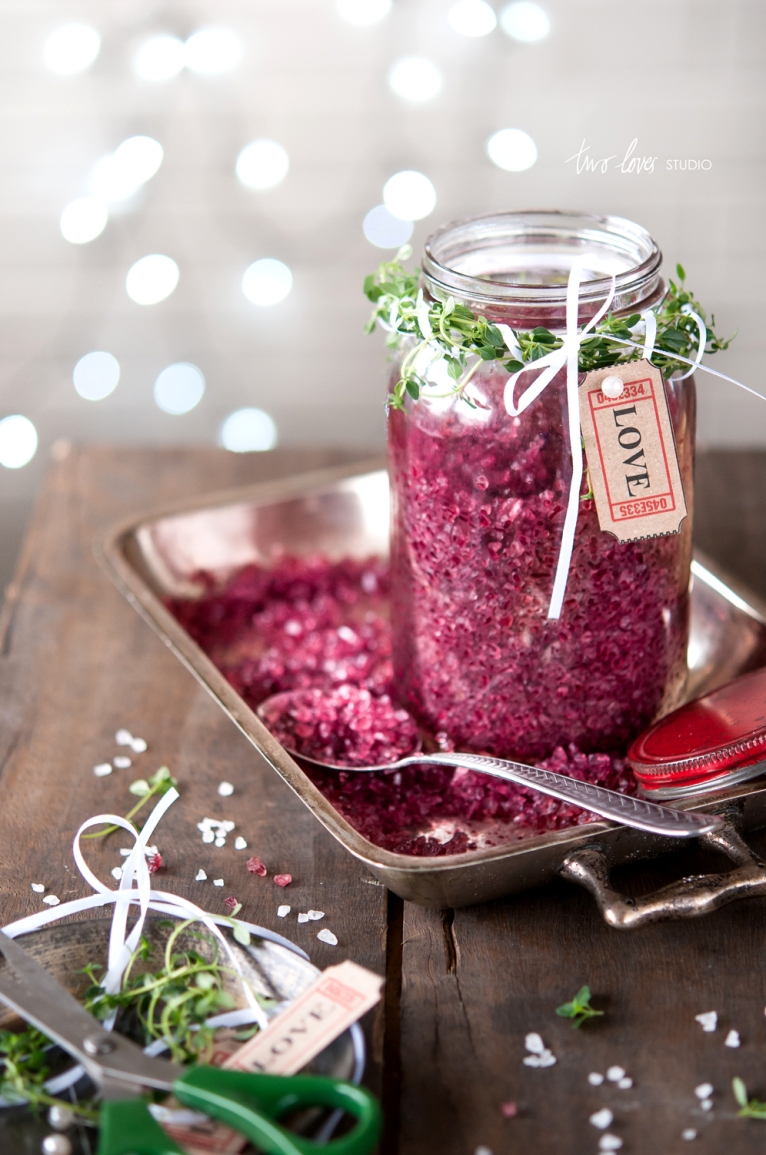
I volunteered at a charity event a few weekends ago and was for a lack of a better word, bartending. I brought home quite a few open red wine bottles thinking, I’ll do something with those. Well, Red Wine Sea Salt it is. It is a no-brainer to make, tastes and looks good and can be given as a gift in a little jar, decorated with some Christmas trimming.
Any red wine will do, and you can use any coarse sea salt. The finer the salt, the richer the colour. I used rock salt as I like the chunky look and the fact that when it is ground to go on top of food, it will become a lighter pink as the colour isn’t as rich in the larger granules. Smaller granules will also dry quicker.
Red Wine Sea Salt
Ingredients
3 cups red wine
1 1/2 cups sea salt (coarse or rock salt)*
Directions
In a saucepan over medium to high heat, bring the wine to a boil. Reduce the temperature and simmer until the liquid reduces to 1-2 tablespoons and is thicker and a little syrup like.
For every tablespoon of reduced wine, add 1 – 1 1/2 cups of sea salt. Add one cup first, stir and if the liquid hasn’t absorbed as well as you would like it to, add some more. Stir until completely covered. Lay out on a try overnight to dry.
Store in clean air-tight jars, add your favourite Christmas trimming and give as Christmas gifts.
*Notes
The finer the salt, the richer the colour. I used rock salt as I like the chunky look and the fact that when it is ground, it will become a lighter pink as the colour isn’t as rich in the larger granules. Smaller granules will also dry quicker. If you only have rock salt or large granules, blitz in a food processor before you add to the red wine.
Share this:
Red & Golden Beet Chips
 Ah chippy, chippy, chippies! My total weakness is potato chips. I would eat them as a meal if I didn’t know any better. Just as if I were still a kid, I get so much satisfaction out of the grand opening of my favourite packet of chips. My high school boyfriend used to call me ‘the Gobbledok’, which for those of you who are not Aussie or didn’t grow up in the 80’s, was a fictional character made up by Smith’s Chips who was obsessed with eating chips.
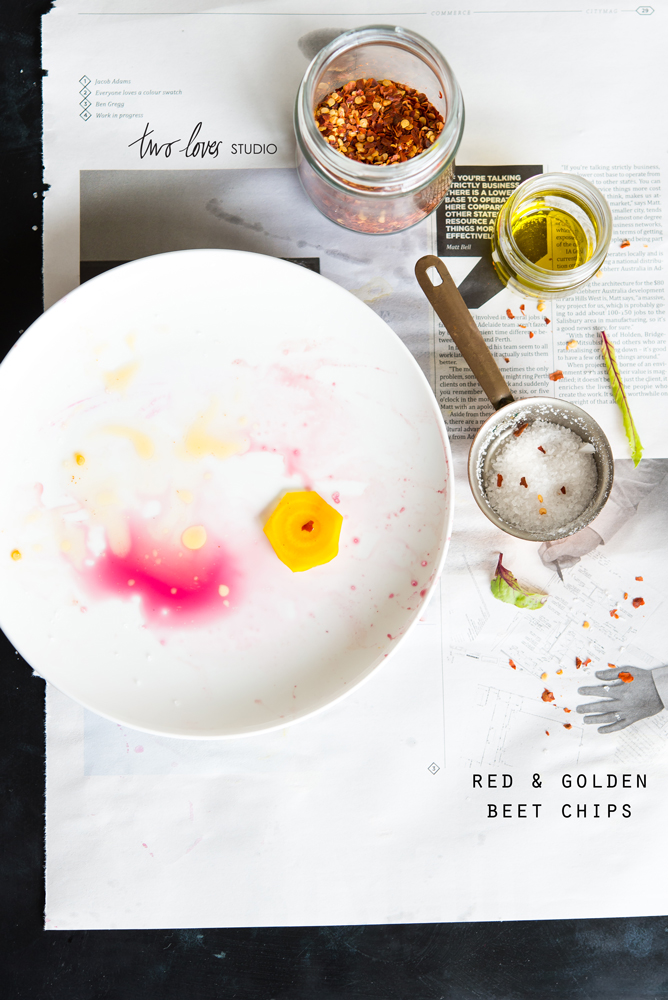
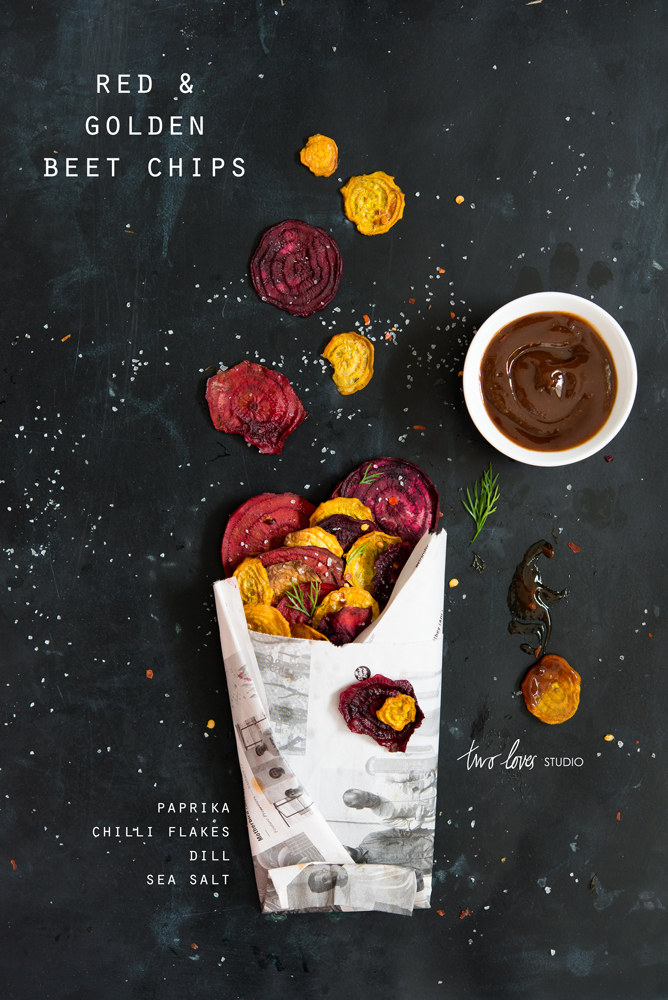
I made some beet chips last week after playing with beets to make a chocolate cake and I loved the idea of making them with the combination of red and golden beets.
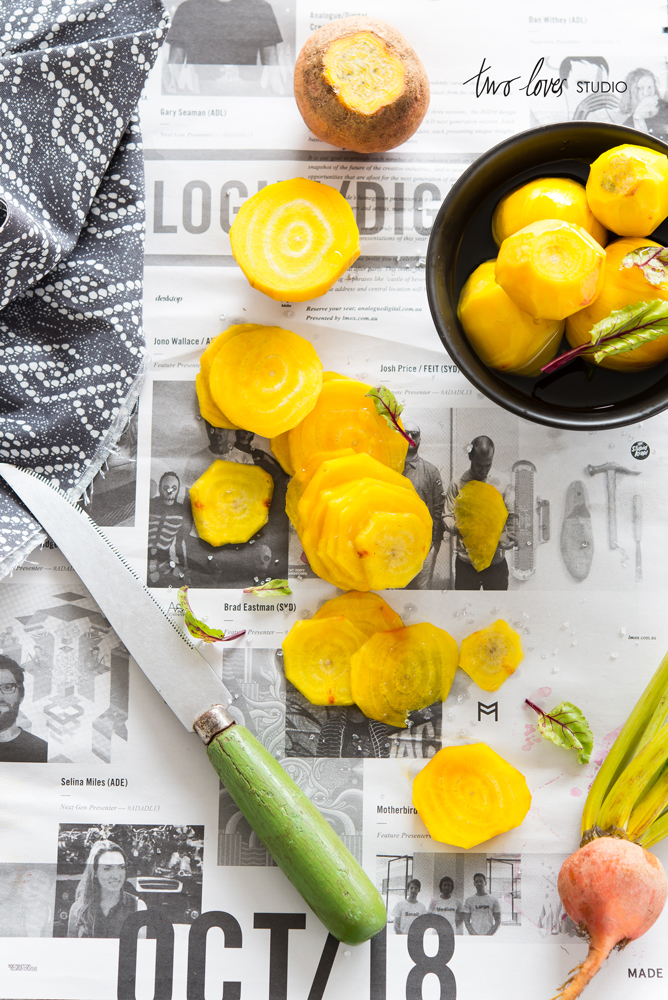
 After playing around with the raw beets before they hit the oven, the stain from the washed beets left an arty statement on my plate. I know I say this all the time, but beauty is everywhere and that’s one of the things I love about working with real food, is that it is so damn beautiful and surprising.
Don’t worry if you don’t have a mandolin or a dehydrator, if you have a good knife, a steady hand and a bit of time and patience – have a go at making some chippies at home, (as the Gobbledok would say).
Red & Golden Beet Chips
Ingredients
1 large red beet
1 bunch of small golden beets (approx. 5-6)
2 teaspoons salt
1/4 ground paprika
1 teaspoon chilli flakes
Olive Oil
Handful of fresh dill, chopped
Directions
Preheat the oven to 180 C (350 F) and get two large baking trays ready.
Wash and trim the beets. Use a peeler to remove the skin. Cut the beets into very thin slices. You can use a mandolin, or a sharp knife with a steady hand. Place the salt, paprika and chilli flakes into a small bowl and mix. Set aside. In two larger bowls, place the golden slices in one and the red slices the other. Add half of the spice mix to each bowl, (this will ensure the red doesn’t stain the golden beets). Toss each bowl to coat with spices. Add a lug of olive oil to each bowl and coat.
Lay out the golden slices onto one tray. Make sure the slices are not over lapping so they can crisp up. Do the same with the red beets on the other tray. Sprinkle a quarter of the dill onto the golden beets and a quarter onto the red beets. Bake in the oven for 30 minutes. Then turn the oven down to 120 C (250 F) and bake for another 20-30 minutes or until nearly crisp. Remove the chips from the oven and place on a drying rack to crisp while they cool.
Place in a bowl ready to serve and sprinkle over the remaining fresh dill. Serve with BBQ sauce.
Notes
For best results, I watched the chips closely. Smaller chips will crisp up more quickly and if your oven has hot spots like mine, those in the hot spots will also crisp up more quickly. I removed the ones that I could see were ready and put them on the during rack. The stubborn ones that would not crisp in the oven, I left a little longer after the cooking time and bumped up the temperature to 140 C.
Share this:
Spiced Dark Chocolate Beet Cake with Cardamom Infused Cream
Love me and feed me chocolate. It is no surprise that even though I eat way less sweet stuff than I used to, I still love good quality chocolate. I love to eat it, I love to photograph it. I love how to compliments so many dishes and flavours, I love the smooth shine when the light hits it.
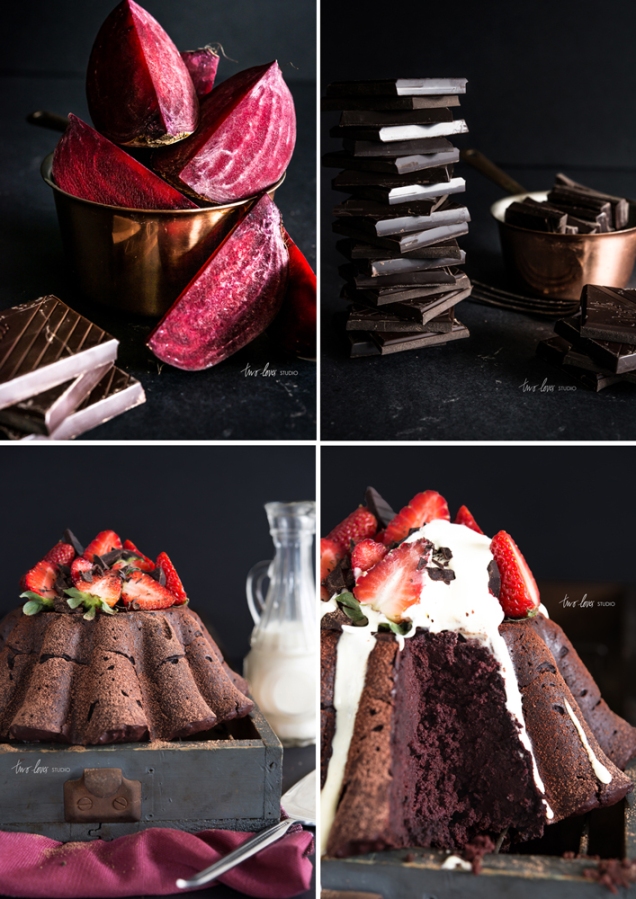
I was trying to be organised last week and think about what dishes I wanted to make and shoot. My desire to be good at baking is still strong, and even though I kinda suck at it, I really wanted to make a cake. Amongst other ideas for the week’s post, one ingredient was common – beets. This naturally led me to trying a chocolate beet cake. I had never had one before and I was interested to see if my baking skills could pull one off. Turns out it was easy. A very indulgent, rich chocolate cake, thick and moist, that serves way more people than pudding tin instructions suggested. I guess I wouldn’t win a cake eating contest, when I am trying to convince you that a cake for 6 is really a cake for 10!
I shot some chocolate portraiture early one morning, which was the best part of making this dish. (Buying half a kg, 1 pound, of dark chocolate definitely wasn’t as my wallet took a hefty blow. I bought Lindt dark chocolate because its sugar content isn’t ridiculous). I am in love with tempered chocolate and the shine it gives. I love how the light dances on its edges and carves out the squares we all associate with the luxurious bite sized pieces.
I really played with a lot of dishes last week and I played for about eight hours on this dish to really explore hard light and dark tones. Back to back editing and my new role at work, it is no wonder that I slept for what seemed like a week last night and this morning. (I went to bed in the afternoon yesterday, woke up to cook dinner, went back to bed. Was up at 6am for breakfast with some lovely ladies, then back in bed until midday!)
I used a 22cm (8.5″) pudding pan to make the cake. It rose close to the pans capacity, and the extra beetroot that I added made the cake heavy and very moist. I would think that this recipe could also be made in a brownie tin for chocolate beet brownies, but that might just be the amateur baker in me talking! If you try it out in a brownie tin, I would love to know how it turns out.
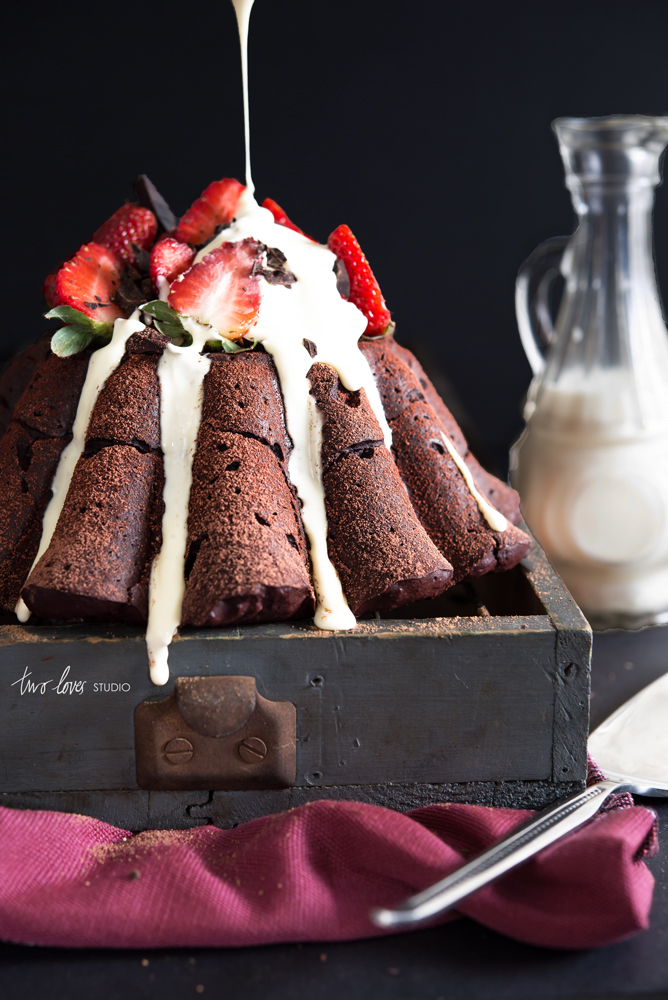
I have eaten the cake both with and without cream. I do love a warm cake with a dob of cream on the side, but it is just as good 4 days later on its own as you sneak a bite from the cake tin. As the pudding pan I used gave me a great flat surface on the top of the cake for a garnish, I used some freshly cut strawberries and broken pieces of dark chocolate – but you could use any other fruit or a chocolate ganache if you liked.
Spiced Dark Chocolate Beet Cake with Cardamom Infused Cream
Serves 10*
Ingredients
Cake
400g (14oz) good quality dark chocolate, 80%
250g (8.5oz)beetroot, very finely grated
6 eggs, separated
1/2 cup caster sugar
1/4 teaspoon ground allspice
1/4 teaspoon vanilla extract
100ml (approx. 1/2 cup) coconut cream
75g (2.5oz) almond meal
Cardamom Cream
1 cup pouring cream
8 cardamom pods
Garnish
Fresh strawberries, quartered
Dark chocolate, shaved or grated
Cacao powder for dusting
Directions
Preheat the oven to 170 C (340 F). Separate your eggs and set aside. Grate the beetroot and set aside.
Melt 3/4 of the chocolate in a heatproof bowl over a saucepan of simmering water on medium heat until the chocolate is completely melted. Turn the heat down to low and add the remaining 1/4 of chocolate, it should melt quite quickly.
In a bowl, whisk the egg yolks and sugar until creamy, (about 3 minutes). Add the allspice and vanilla, combine. Pour in chocolate and grated beetroot and stir to combine. (The chocolate will cool down and become a little hard to mix so be sure to start mixing as soon as you pour the chocolate and grated beet into the mixture). Set aside.
Whisk the egg whites until soft peaks form. Add the egg whites and coconut cream to the cake mixture and stir until fully combined and silky. Add the almond meal and mix.
In a greased 22cm (8.5″) pudding pan, scoop in the mixture, making sure it gets into the curves of the tin. Place in the oven and bake for 45 minutes.
Meanwhile, over a low – medium heat, slowly bring the pouring cream and cardamom pods to a boil. Remove from heat and let infuse for 20 minutes. Remove the cardamom pods and set aside in the fridge until ready to use. (The cream can be made the day before or before the cake if you want the cream to be chilled).
Using a skewer, check to see how cooked the cake is. It should be a little uncooked in the middle. Turn the oven down to 150 C (300 F)and bake for another 30 mins. The cake should now spring back and be cooked through. Turn the oven off and leave the cake to cool in the oven for another 15-20 minutes. Take the cake out of the cake tin and let cool for 15 minutes. You can now garnish it with a dusting of cacao, strawberries and shaved dark chocolate bits. Serve with the cream.
* The pudding tin serves 6, but I think this cake is so indulgent that it could serve 10!
Share this:
- This space is no longer active and is not being monitored. Please come and visit me at twolovesstudio.com
Archives
Categories
Copyright
All content and photography in this space are the property of Two Loves Studio and cannot be used without permission. If you wish to use something you find at TLS, please just reach out - I'd love to hear from you.


